

MS Excel 2011 for Mac: Move a Range
This Excel tutorial explains how to move a range of cells from one location to another in Excel 2011 for Mac (with screenshots and step-by-step instructions).
See solution in other versions of Excel:
If you want to follow along with this tutorial, download the example spreadsheet.
Question: In Microsoft Excel 2011 for Mac, how do I move a range of cells along with its formatting to a different location in my spreadsheet?
Answer: By default when you move a range of cells, it will move the data as well as formatting such as font, number format, borders, background color, etc.
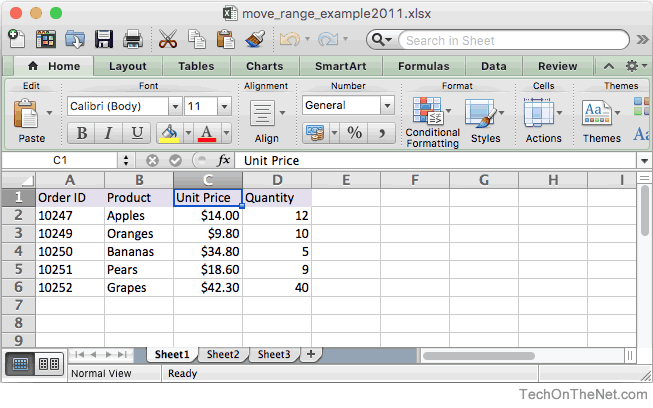
To move a range, select the first cell in your range. You will see the cell become active with a blue box around it. In this example, we've selected cell C1.
Next, hold down the SHIFT key and click on the last cell in the range. In this example, we have clicked on cell C6. You should see the entire range of cells become highlighted.
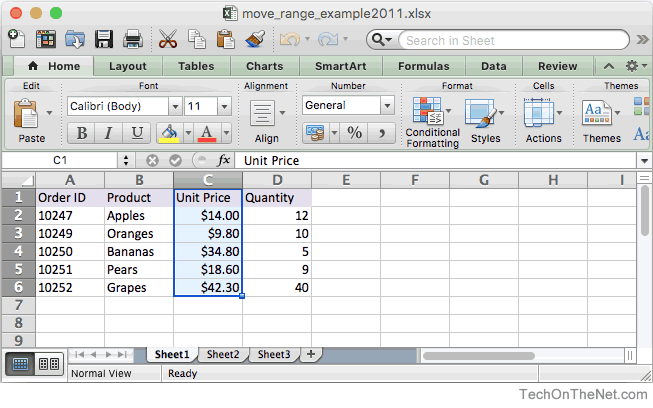
Now, press CONTROL + X to let Excel know that you want to move this range. You will see a dotted border appear around the range of cells indicating that the cells are ready to be moved to another location in your spreadsheet.
Next, you will need to select your destination. To do this, select the starting cell where you would like to paste the range. In this example, we have selected cell F1.
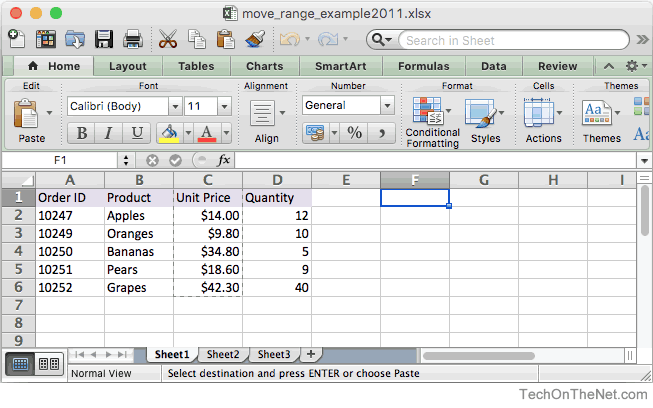
Finally, press CONTROL + V to move the range (or press the ENTER key to choose Paste).
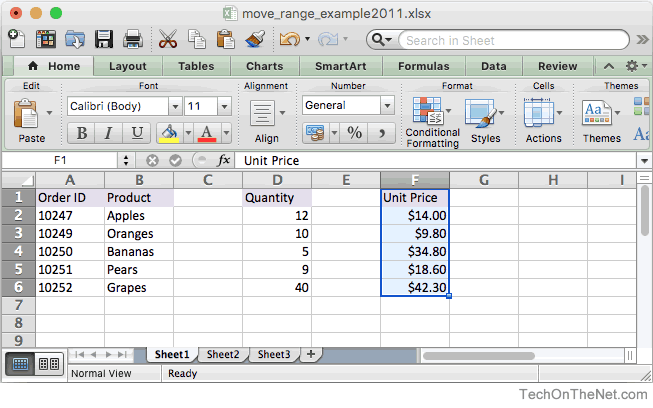
Now you should see the range move to the new location in your spreadsheet. In this example, F1:F6 now contains the original data and formatting from the range C1:C6.
Notice that your original range (C1:C6) will have all data and formatting removed.


Advertisements