

Linux: How to Create a Group in Ubuntu Linux Server 14.04 LTS
In this Linux system administration tutorial you will learn how to create a group on an Ubuntu Linux Server 14.04 LTS (Trusty Tahr) system with screenshots and instructions.
Description
Groups allow system administrators to apply certain permissions or access to groups of users. Groups must be created first before you can assign a user to that group. To add a new group, you will use the groupadd command.
Syntax
The syntax for the groupadd command is:
groupadd -g Group_ID Group_Name
Parameters or Arguments
The groupadd command requires the following two parameters:
- -g Group_ID
- The -g parameter indicates that a group number will follow. This is the group number that will be assigned to this new group. The group number must be unique.
- Group_Name
- The name of the group you would like to add. Group names should be entered in lowercase and may contain underscores. It is recommended that you do not use the same group name more than once.
Prerequisites
To complete this tutorial you will require a running Ubuntu Linux Server 14.04 LTS system and an account with sudo administrative privileges. The sudo command is used to provide the superuser privileges required for the groupadd command.
Create a Group
The following steps will guide you through creating a group on an Ubuntu Linux Server 14.04 LTS system.
-
To begin adding a new group to your system, you will need to be logged in using a valid user account. If you are unsure of how to do this, read our tutorial on Logging into Ubuntu Linux Server 14.04 LTS.
In this tutorial, we have logged in as techonthenet on the host called ubuntu.
-
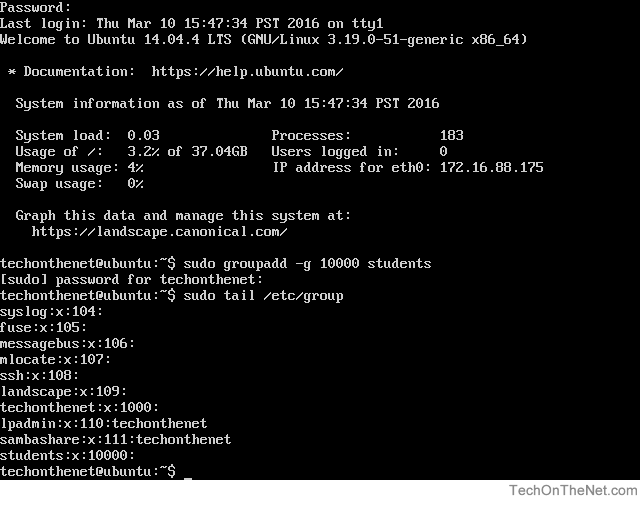
We will add a new group with a Group ID of 10000 and a Group Name of students. To add the group called students, we would enter the following command:
sudo groupadd -g 10000 students
The following screenshot demonstrates what you will see.
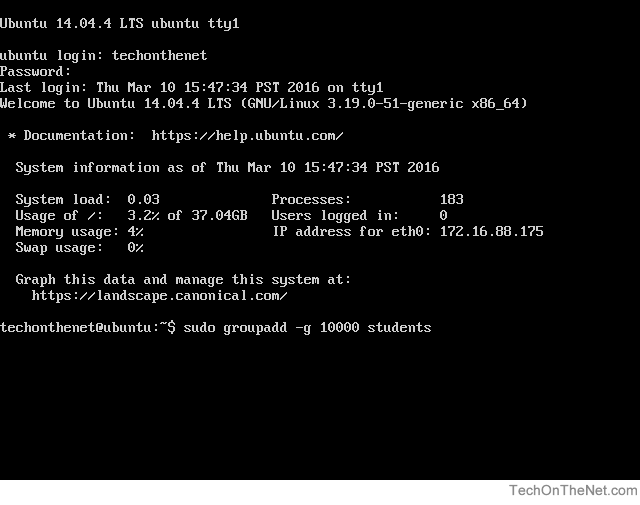
When you have entered the command, press the Enter key to execute the command.
-
The sudo command will now prompt you to enter the password for your administrator account.
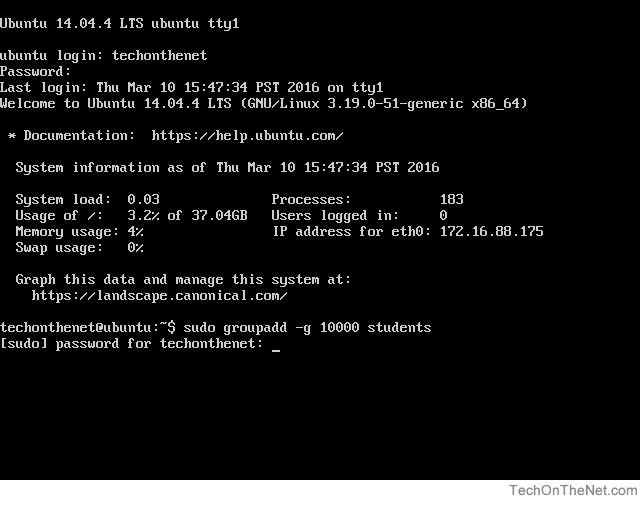
Please note that no characters will show as you type your password. This is normal and is important to preserve the security of your password.
After you have entered your password, press the Enter key to continue.
-
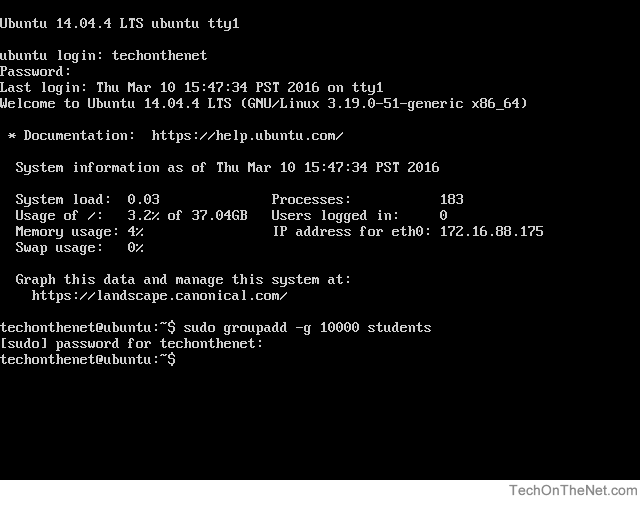
If all goes well, you will see the system prompt appear again without any errors. This indicates that the new group called students has been added successfully.
-
In this step we will check to ensure that the group called students was added to the system. Since new groups are added to the end of the system group file called /etc/group, we can use the tail command to verify that the new group was added.
Enter the following tail command after the system prompt to show the last few lines of the system group file:
sudo tail /etc/group
The following screenshot demonstrates what the command will look like after it is typed.
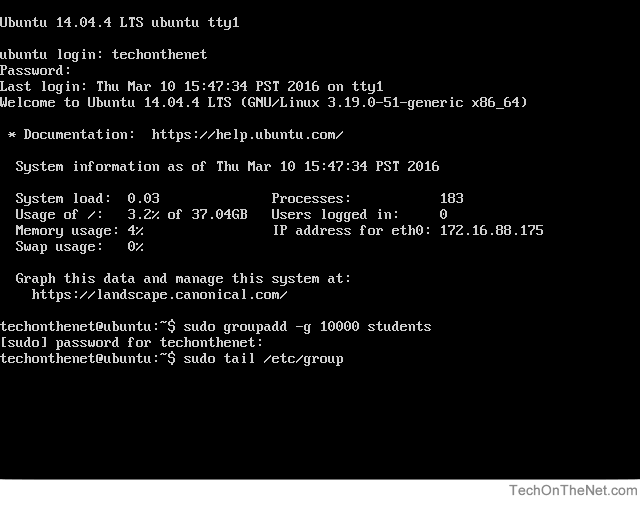
When you have typed the command, press the Enter key to execute the command.
-
As seen in the screenshot below, the following line appears at the end of the /etc/group file indicating that the students group was created.
students:x:10000:
Congratulations, you have successfully added a new group to your Ubuntu Linux Server 14.04 LTS system!
Advertisements